


DBA TimePro
|
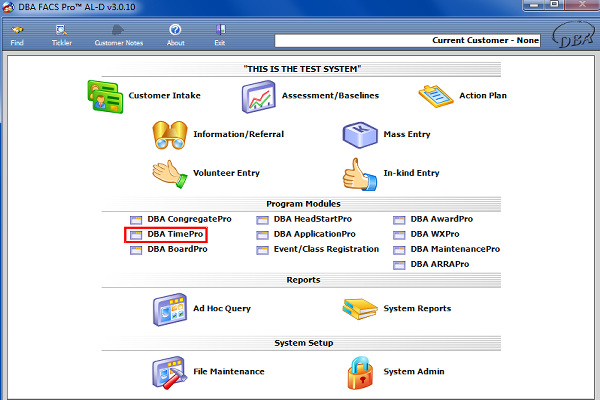
Click the DBA TimePro Program Module. |
|
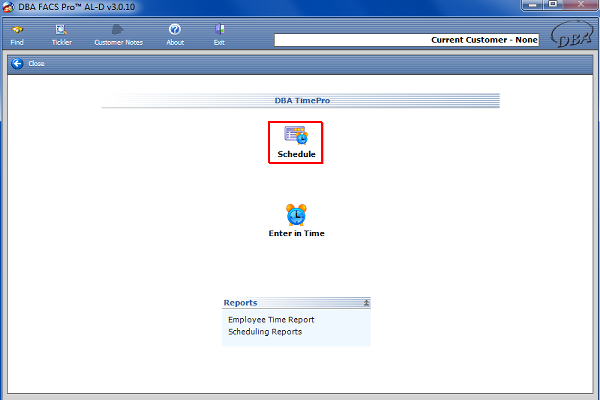
This will open up the DBA TimePro Main Menu. Click the Schedule icon. |
|
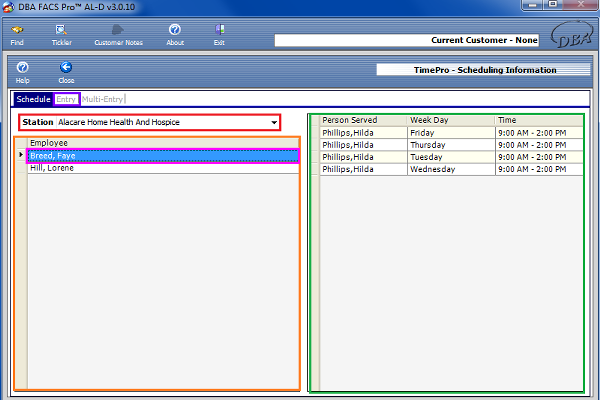
This will bring up the Scheduling Information screen. This screen allows the user to choose an Employee from a specific Station, and arrange their schedule. To select the Station, click the drop down arrow next to the field labeled ‘Station’. After a Station is picked, the table on the left labeled ‘Employee’ will fill with the various employees of the chosen Station. Finally choose the appropriate employee from the table. The information from that particular employee will fill the table to the right. To make a new entry, click the Entry Tab found at the top. |
|
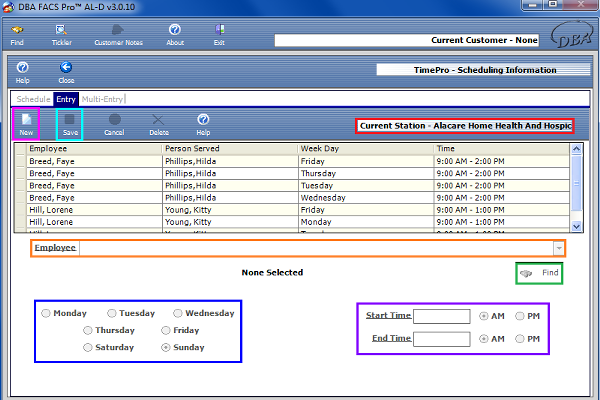
On this screen you will be able to make a new scheduling entry. At the top of the screen, the station that you chose will be featured as the Current Station. To activate this page, click the New icon. You may click the drop down arrow beside the Employee field and choose the appropriate employee. If the employee is not listed, then click the Find icon, and select the employee from the customer search screen. Also, select the correct day of the week. Only one day may be selected per entry. Finally, choose the Start Time and End Time (including whether it is AM or PM). Remember that all underlined information must be completed before you are able to save. Click the Save icon and the information will be added to both the list found above and the list of Employees on the previous screen. |

|
Click the Multi-Entry Tab. On this screen, the user may select the appropriate employee from the given list or from the customer search screen by clicking on the Find button. Enter the Start and End Time, as well as whether these times are AM or PM. Lastly, check off which days of the week this schedule includes. More than one day may be checked off.
|