


DBA WXPro
|
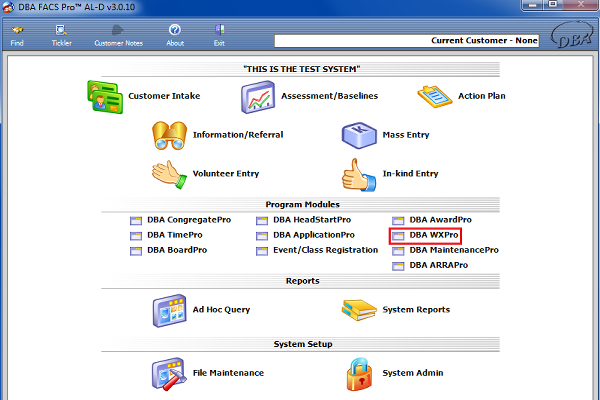
From the main menu click on DBA WXPro. |
|
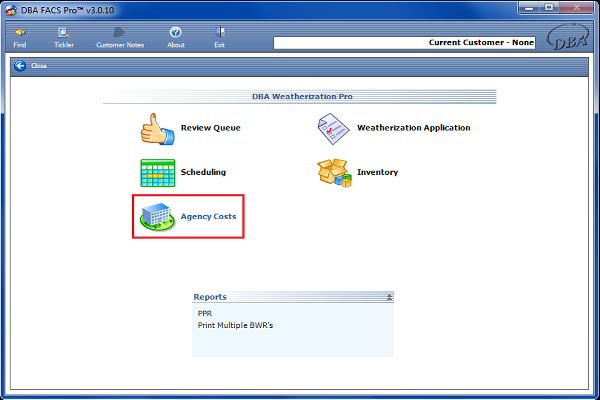
Click on Agency Costs. |
|
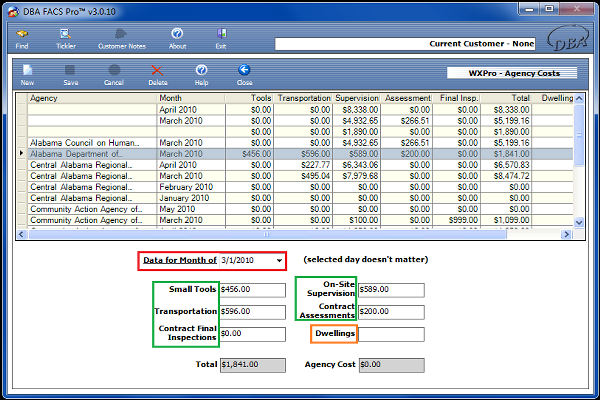
Enter the month that these costs apply for. Only 2.1 – 2.5 from the BWR is filled in here (Small Tools, Transportation Contract Final Inspections, On-Site Supervision, and Contract Assessments). The total automatically calculates from the amounts that are typed in. Dwellings: During the first month, agencies will have to notify the help desk to input the number of dwellings. After the first month, Dwellings will automatically be calculated based on the Final Inspection Date on homes completed in the previous month. |
|
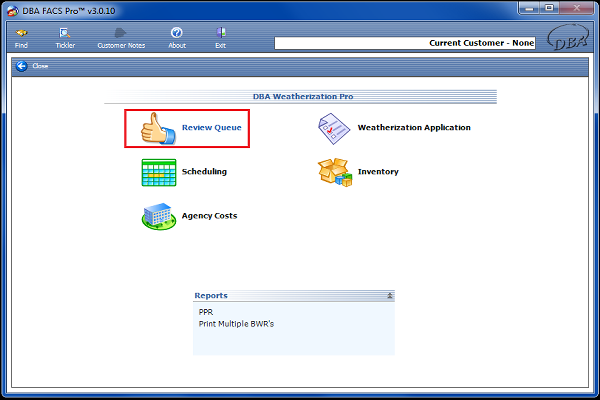
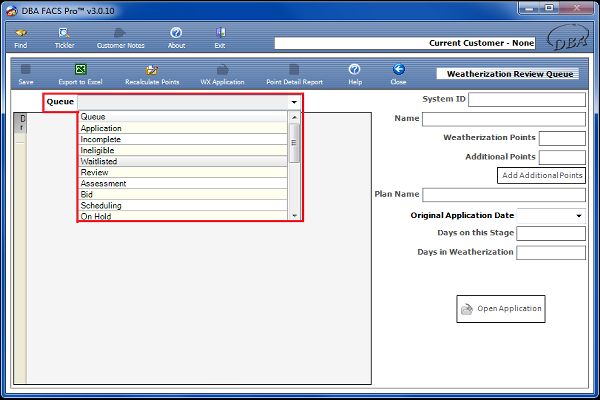
From the DBA WXPro mainscreen click on Review Queue. |
|
Select the appropriate Queue from the drop down menu. |

|
All clients under a particular Queue will be listed. A customer will show up in this grid even if they aren't currently at the user's Agency because the associated Action Plan was created by the Agency. Highlight a client’s name to have their information come up in the boxes to the right. You will be able to see how many WX Points the client has received (To know what points have been awarded, click on Point Detail Report. Be sure to enter the date prior and after the original application date). To continue to the next step, click open application. |
|
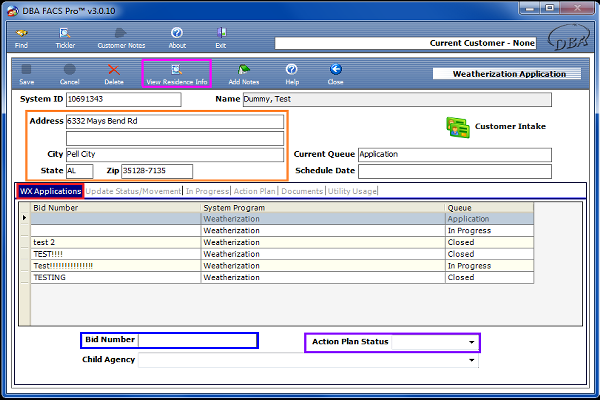
Click on the WX applications tab. At this point you can assign a bid number. The action plan status can be selected. Residence information can be viewed on this section. Residence info can't be changed here unless you hit the View Residence Info button in the toolbar. |
|
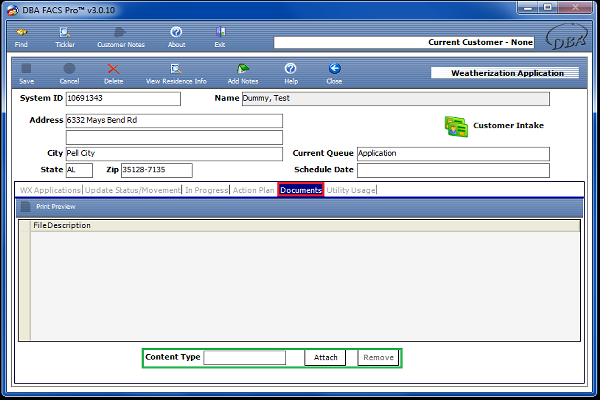
Click on the documents tab. On this page you are able to add pictures and word documents as well as remove them. |
|
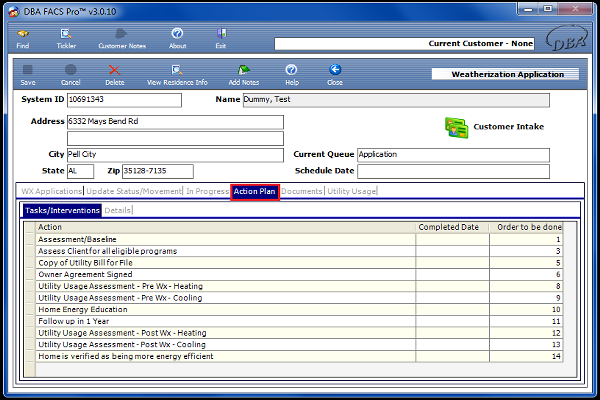
The action plan should be completed for every client. Without a completed action plan, goal/indicators/outcomes will not pull to reports. |
|
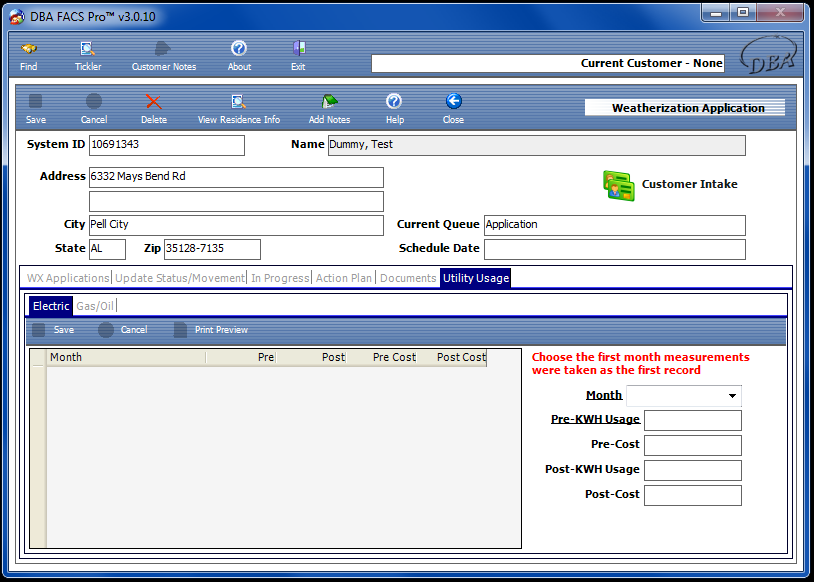
Utility usage for both pre-weatherization and post-weatherization is collected and inputted on this screen. |
|
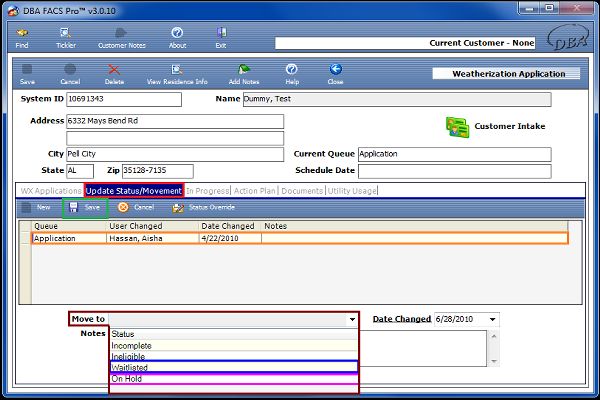
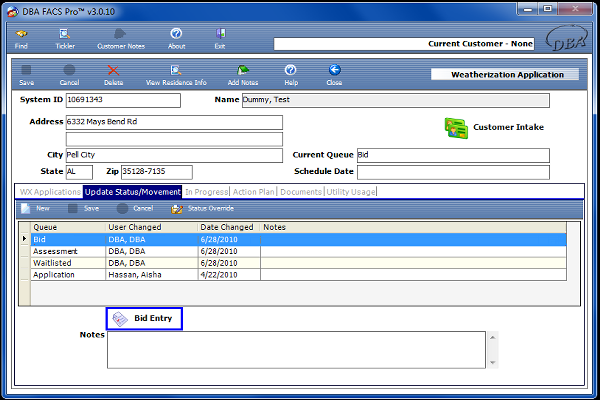
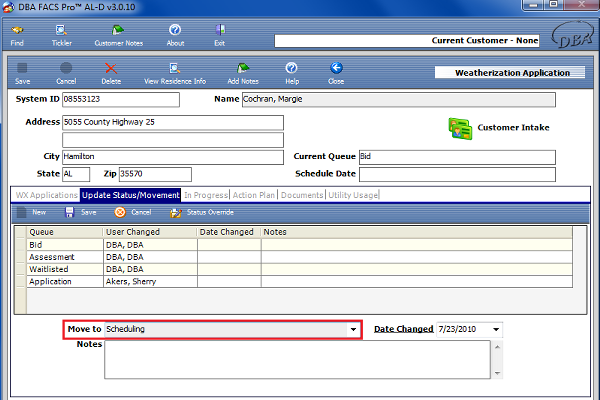
Click on the update status/movement tab. Highlight application and click on new. Select Waitlisted from the Move to drop down. At any point if you choose On Hold, when you take them off the application, the status can only be moved to the stage you were in at the time it was put on hold. Click Save when finished. |
|
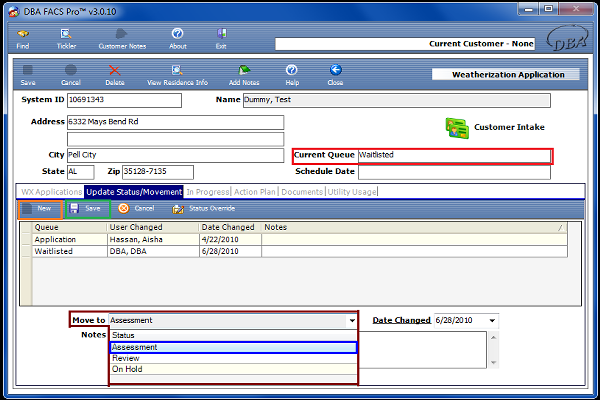
The Current Queue should be marked as Waitlisted. To change the cue to Assessment, click on New. Change the Move to to Assessment. Click Save when finished. |
|
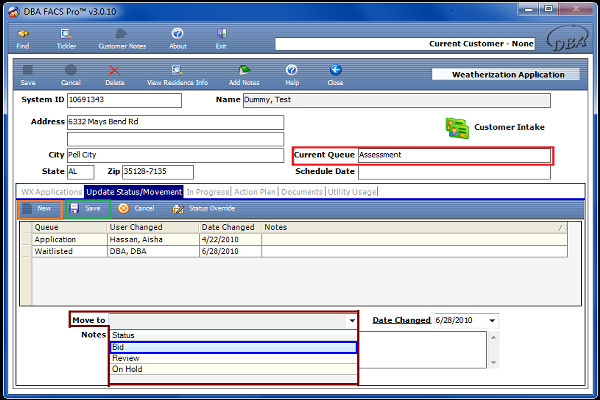
The Current Queue should be marked as Assessment. To change the cue to Bid, click on New. Change the Move to to Bid. Click Save when finished. |
|
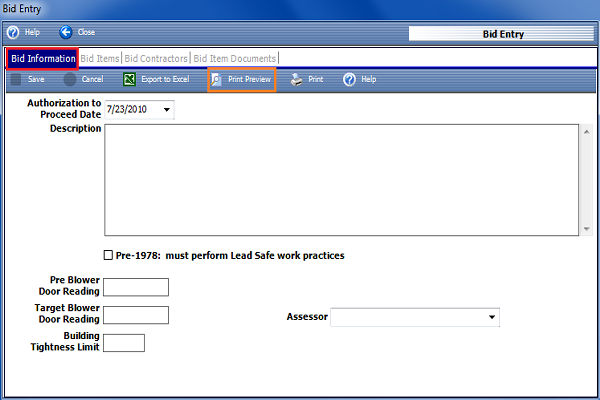
Click Bid Entry. |
|
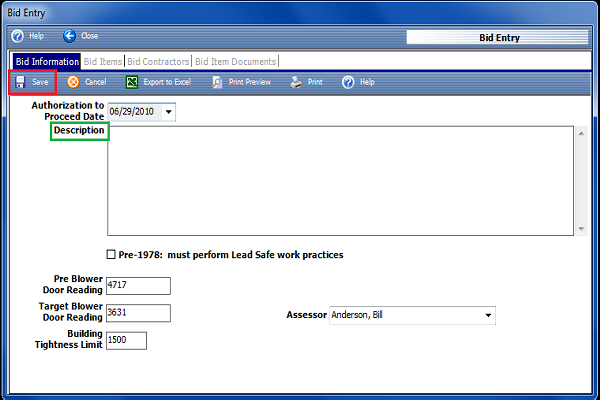
Fill in the information on this screen. Description can be filled in at your discretion. Click on Save. |
|
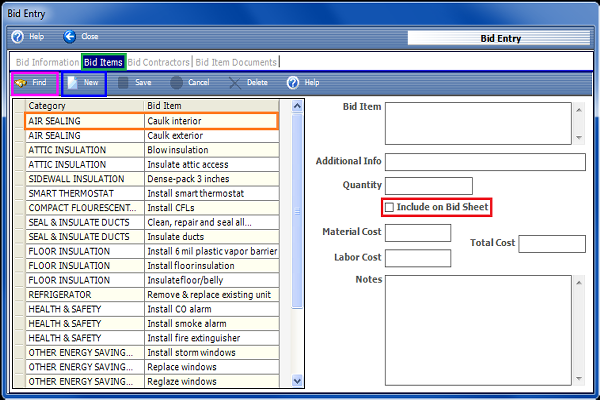
Click on the bid items tab. This is where the bid is created. Selecting a bid item will open up the boxes to the right in order for information to be inputted.
Note: All of the default items that show up will autofill onto the BWR if they have costs, a quantity and the Include on Bid Sheet checkbox is checked. Also, a default item will only show up on the Bid Sheet printout if the Include on Bid Sheet checkbox is checked.
If items are not on this list click Find. Check off the Selected box next to the items and then hit Process Selected. They will be added to the bid listing, and you will need to select them and enter their information in the boxes to the right of the screen.
If you are unable to find a bid item, click New and you will be able to enter the information in the boxes to the right of the screen.
Material and Labor costs should only be filled in after the bid is accepted and should be filled with the values from the accepted bid only. |
|
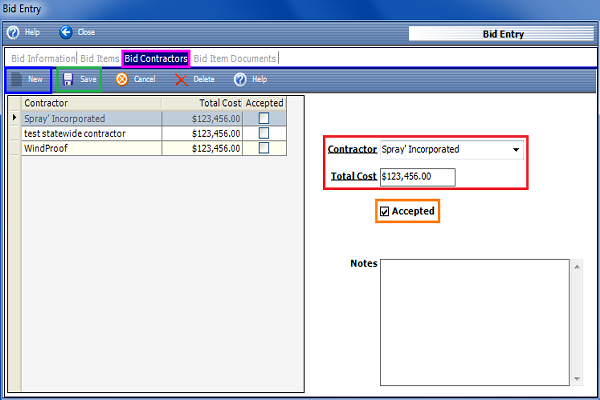
Click on the Bid Contractors tab. Click on New. Enter contractor’s name and total cost (Enter this information for each contractor who placed a bid). Remember to click Save after entering each contractor and total cost. You need to hit New every time you add another contractor. Mark Accepted for the contractor who won the bid once all contractors have been entered. Click Save. Once a bid is accepted an 'Unaccept Bid' item will show up on the toolbar in case they accepted the wrong bid by mistake. |
|
Go back to Bid Information. Click on Print Preview. This will bring up the job order/contractor’s bid sheet for the winning bid. |
|
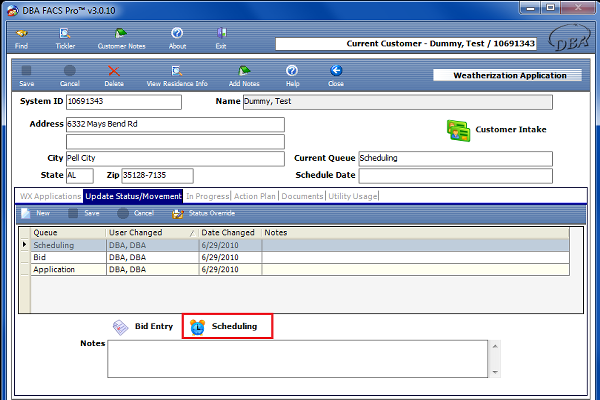
Move application to scheduling. |
|
Click on the Scheduling icon. |
|
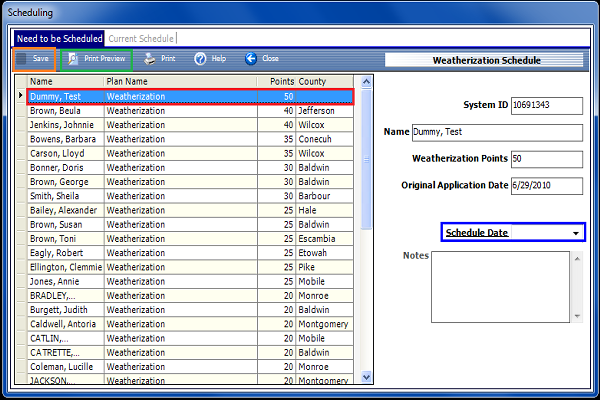
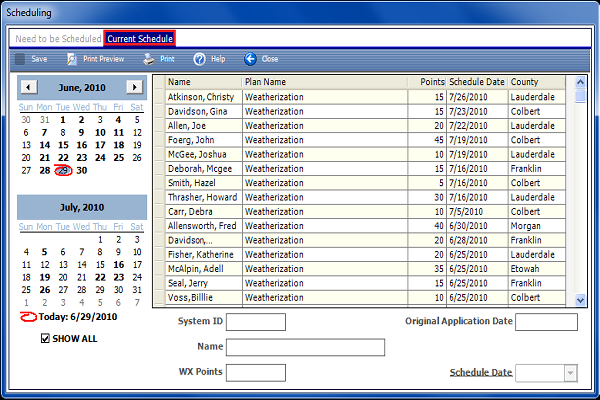
Select client to schedule. Fill in Schedule Date (This should be the authorization to proceed date). Click on Save. If you click on Print Preview it will pull up a jobs needing scheduling report. |
|
Click on the current schedule tab. This will show clients who have been scheduled for Weatherization. Once a client has been scheduled they are automatically moved to the in progress stage. |
|
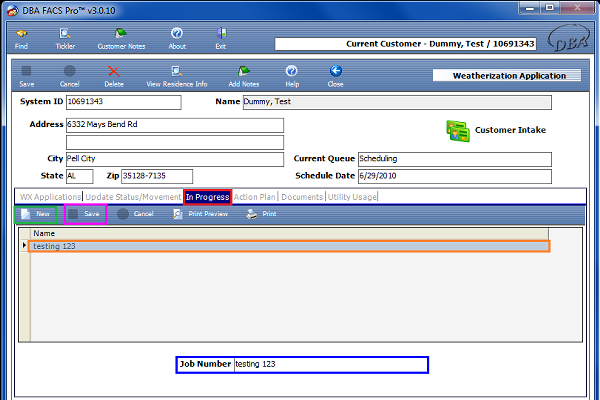
To create the BWR, click on the In Progress tab. Click on New. Create a Job number. Click on Save. Once job number is created, double click on the name. |
|
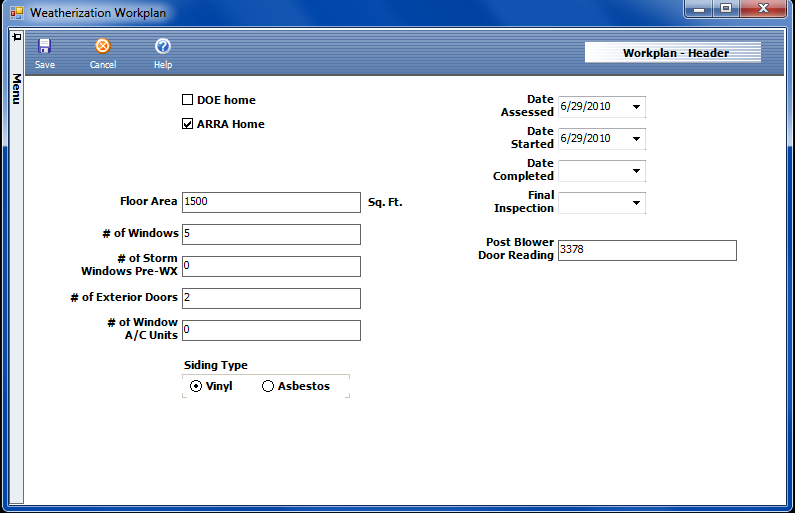
Fill in all the appropriate information. Reminder: The final inspection date is what pulls a house to be calculated for agency cost on the BWR. |
|
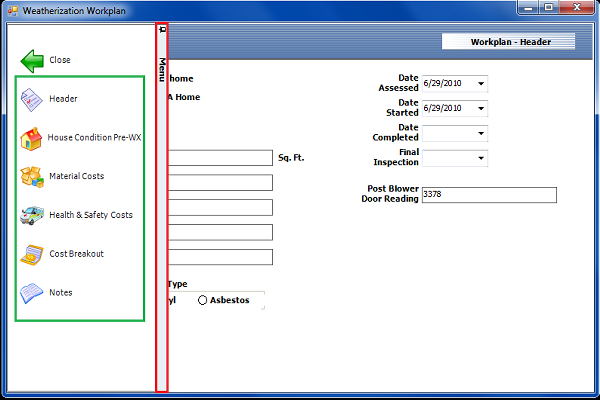
Move the cursor to the Side Menu. Work down the menu list in order to complete the BWR. |
|
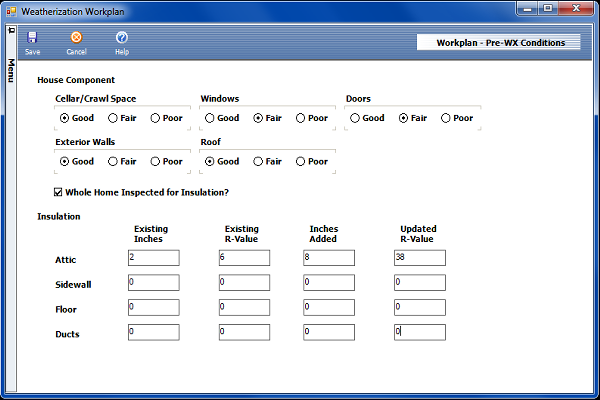
Under Workplan – Pre-WX Conditions, fill in the appropriate information. |
|
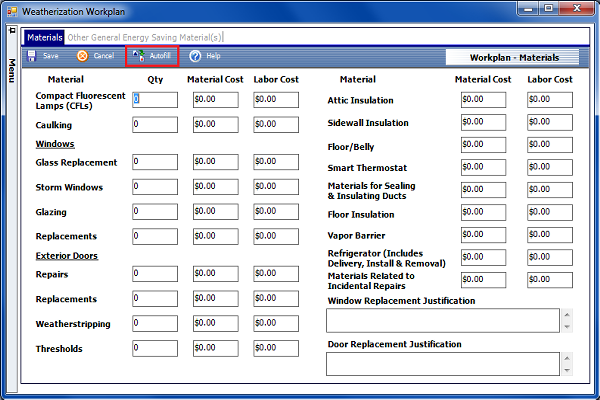
Under Workplan – Materials, click on Autofill. This will automatically pull the information from the bid sheet. Once Autofill is complete changes can manually be made. |
|
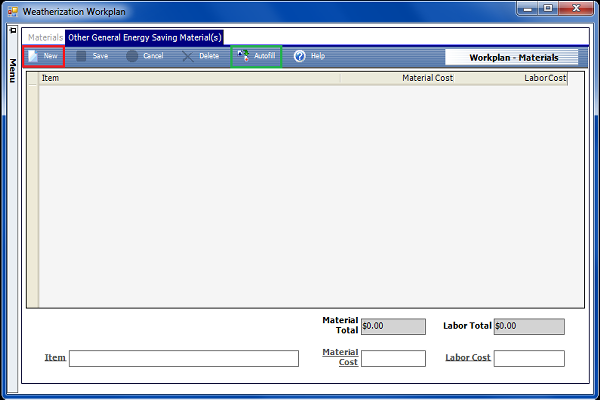
Under other general energy saving material(s) click on Autofill. If items have been left off, click on New and add the item, material cost and labor cost. |
|
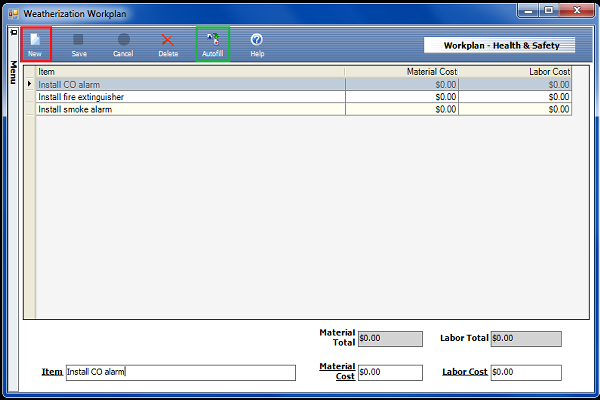
Under Workplan – Health & Safety click on Autofill. If items have been left off, click on New and add the item, material cost and labor cost. |
|
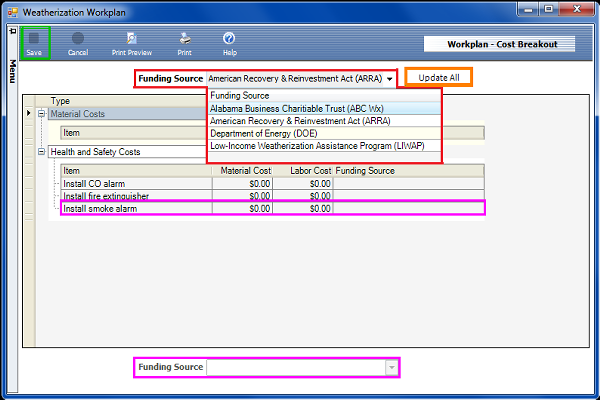
Under Workplan – Cost Breakout, select the appropriate funding source and click on Update All. If certain items have been paid with different funds, select the item and then select the funding source from the bottom of the page. Make sure to Save each item. |
|
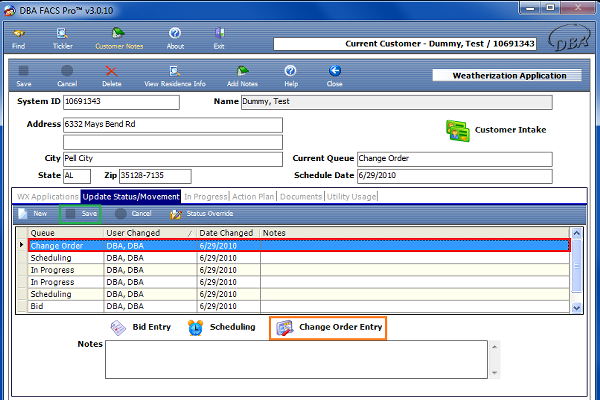
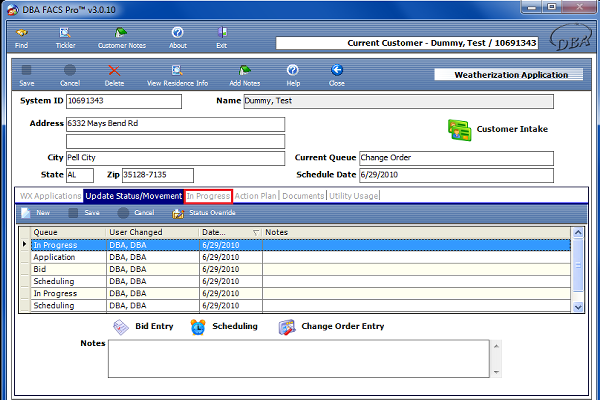
If a change order is done, then under update status/movement tab, select change order. Click on save. Click on change order entry. |
|
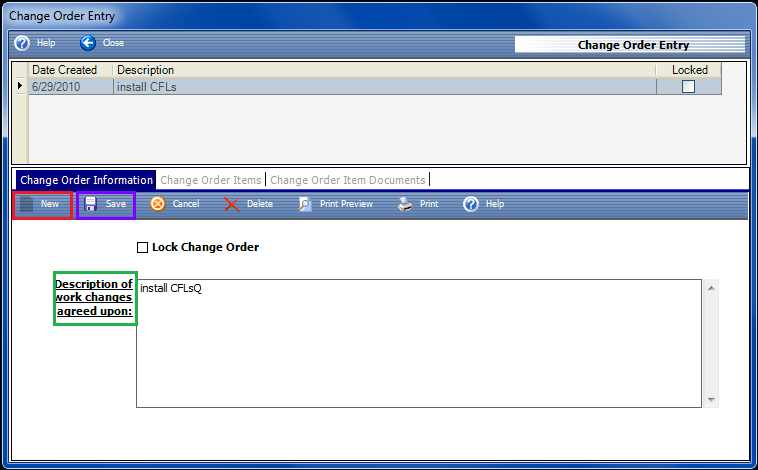
Click on New. Enter the Description of work changes. Make sure to Save your work when done. |
|
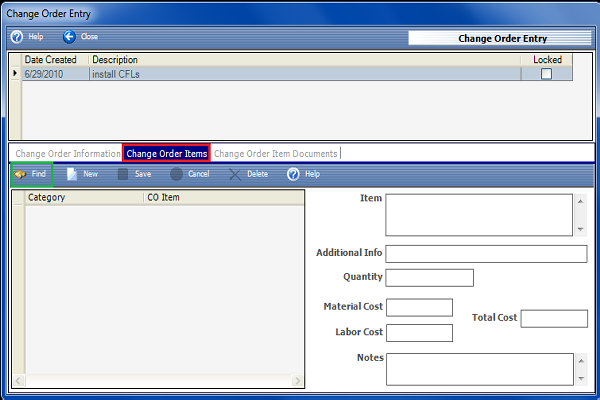
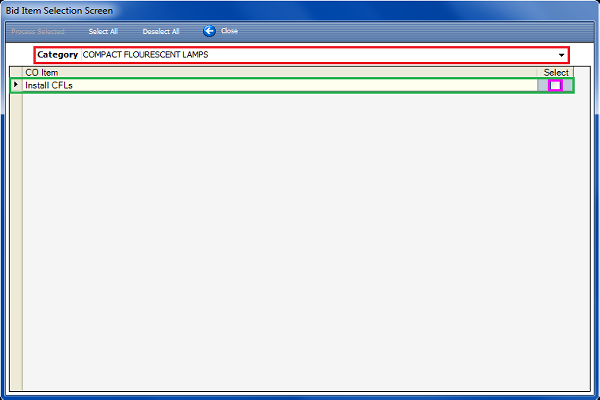
Under Change Order Items click Find. |
|
Select appropriate category. Select appropriate item. Click on process selected. |
|
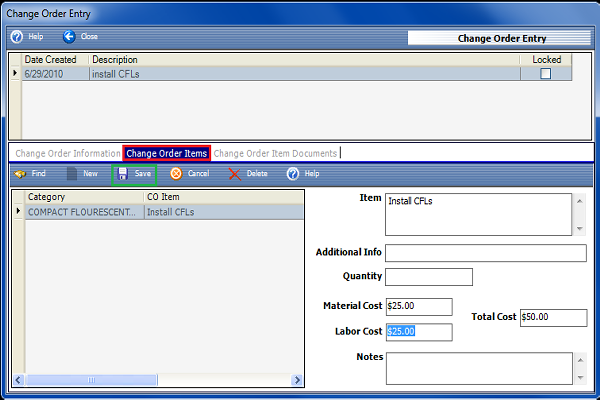
Item will be added to the change order items. Fill in the appropriate information. Click on Save. |
|
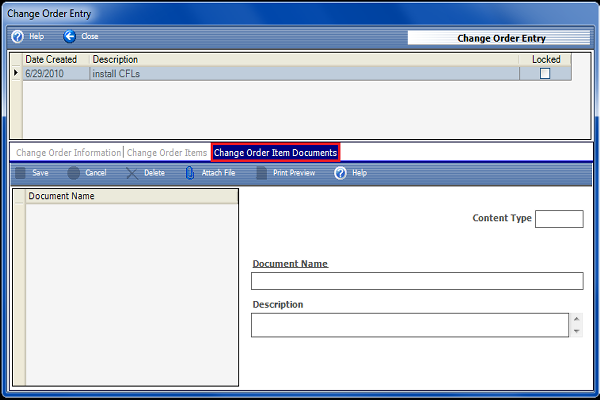
Any documentation pertaining to the change order can be added under the change order item documents (optional). |
|
Once a change order has been completed, the client is automatically moved back to the in progress stage. Click the In Progress tab. Double click on the name, and make changes to the material items as pertaining to the change order. Autofilling any BWR sections will pull over items from Change Orders, but be careful because values that are currently there will be overwritten. |
|
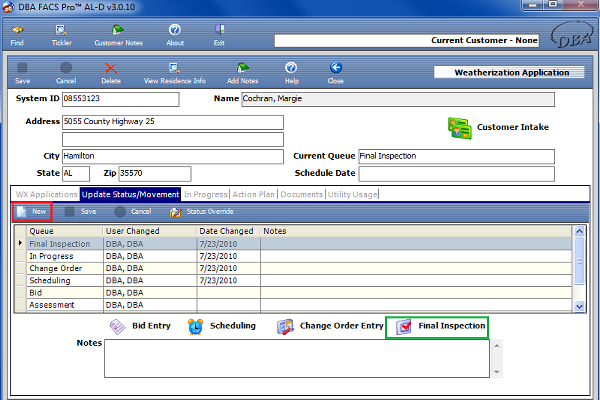
Click on New. Select final inspection. Click on the final inspection icon. The final inspection sheet can be printed out. Click on New. |
|
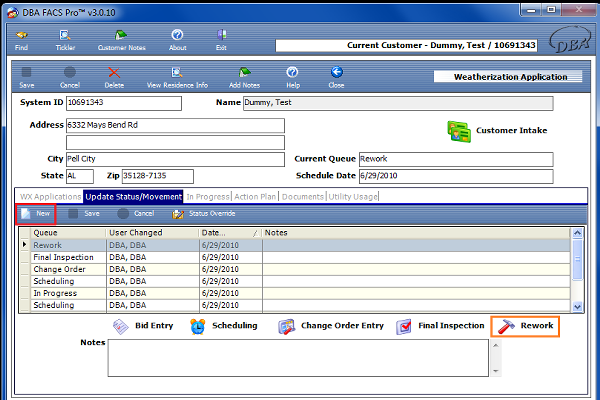
If a rework needs to be done, click New and then Rework. Click on Rework. |
|
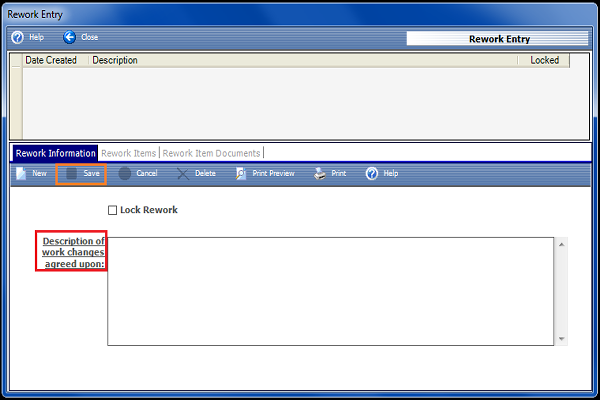
As long as there is no cost incurred for rework, it is only necessary to write a description of the work changes under the Rework Information tab. Click on Save. |
|
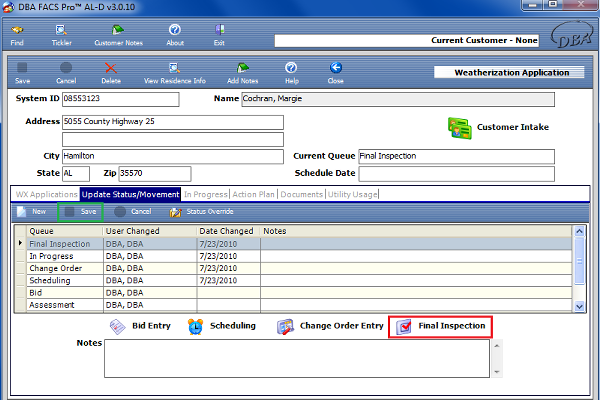
If rework had to be done on the home, then select Final Inspection from the drop down. Click on Save. Click on the Final Inspection icon and print out another final inspection report. Reminder: The final inspection date is what pulls a house to be calculated for agency cost on the BWR, so once a home has passed the final inspection, be sure to enter the final inspection date on the BWR. |
|
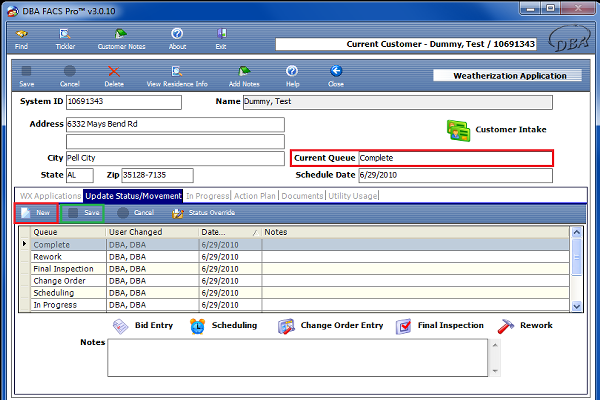
Once the home has passed the final inspection, then move the application to complete by clicking New, Move to, and selecting complete. Click on Save. |
|
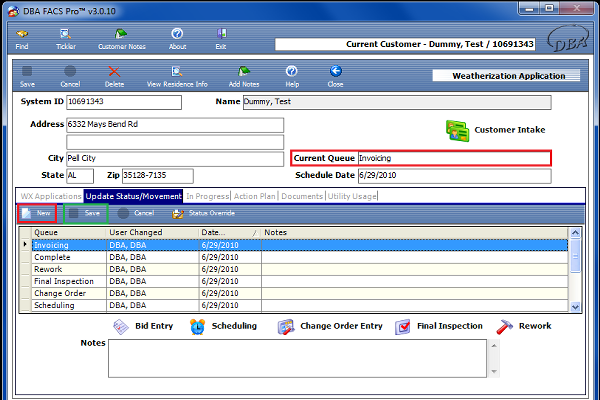
Move the
application to
Invoicing.
Click on Save. |
|
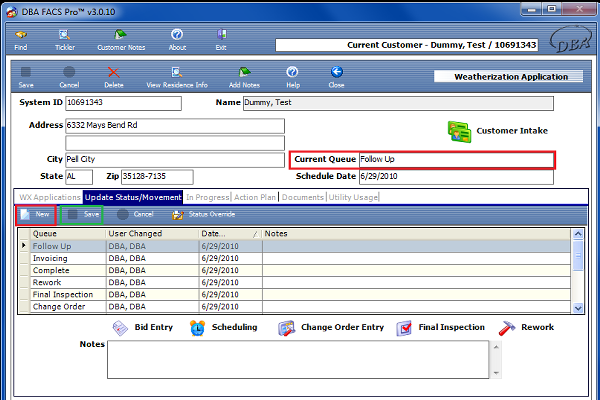
Move the application to follow up when collecting the utility usage one year after weatherization is complete. Click on Save. |
|
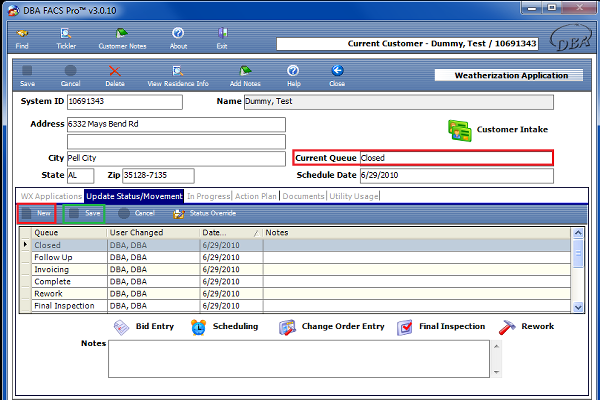
Move the application to Closed. Click Save. |